If you have created an external content type and are trying to access it in a list and get "AccessDenied"
then that is because you have not given permissions to the logged in
user to use that external content type. You can easily give permissions
to that user or to all users in your site by going to the Central
Administration site and configuring the business connectivity service.
For the exact procedure of how to do it read the following.
SharePoint 2013 Business Connectivity Service Access DeniedError: http://mosshosting.asphostportal.com/?p=2650
Some
users get another very interesting error message after they have
assigned permissions on the external content type. The error message is:
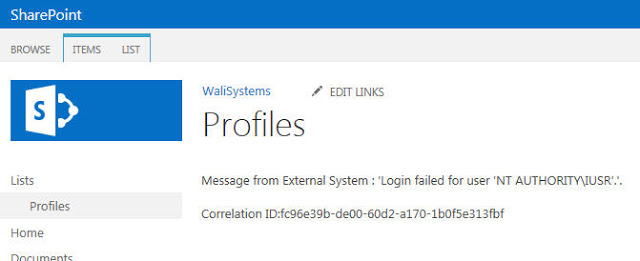
Message from ExternalSystem: "Login failed for user 'NT AUTHORITY\IUSR'.".
This
error occurs because the database does recognize the credentials passed
from SharePoint. Which database? The database that you are connecting
to in your external content type! It depends on whether you have setup
an application pool identity in SharePoint. If you are not using a
managed service account for your services then you are most likely to
get this error. This is not likely to occur in corporate environments
but in home or test environments where users use "LOCAL SYSTEM" or "NETWORK SERVICE" in application pools, this error will occur. This is because" NETWORKSERVICE" translates to "NTAUTHORITY\IUSR" when credentials are passed from a web server to the database server. "IUSR" is
used when user credentials are not available, for example, for
anonymous users. To resolve this problem, either change the application
pool identity or add "NT AUTHORITY\IUSR" to
the database permissions. The first scenario is quite common. You can
change application pool identity by going to the web server and updating
the application pools or by logging into the SharePoint Central
Administration site and going to" ManageService Accounts". We will cover the second scenario here; that is, to add IUSR to the database.
1. Go to Microsoft SQL Server Management Studio and connect to your database server.
2. Expand the Security node and right-click the Logins node and select New Login.
1. Go to Microsoft SQL Server Management Studio and connect to your database server.
2. Expand the Security node and right-click the Logins node and select New Login.

3.
In the Login Name, enter IUSR and click "Search….". This will open a
new search box. Enter "IUSR" in the object name and click "Check Names".
Click "OK".
4. You will notice that the Login Name has been populated with "MACHINENAME\IUSR" where "MACHINENAME" is your machine name, for example, in the figure below, you see "SP2013\IUSR. SP2013" is my machine name.
4. You will notice that the Login Name has been populated with "MACHINENAME\IUSR" where "MACHINENAME" is your machine name, for example, in the figure below, you see "SP2013\IUSR. SP2013" is my machine name.
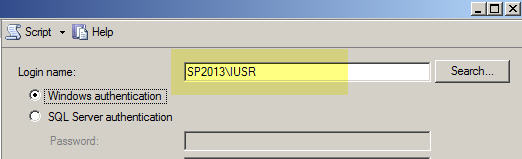
This
is not what you want to add to the logins. Change "MACHINENAME" to "NT
AUTHORITY" so Login Name should read "NT AUTHORITY\IUSR". Click "OK".
5.
Now you may think that the user has been added and your external
content type will work. Right? Wrong! You still have to map the user to
the database, otherwise you will get the following error on the list
page (where you are trying to load external content type):
The query against the database caused an error
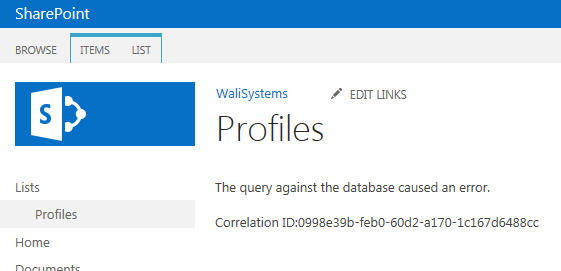
This error occurs, as I said, because the user is not yet mapped to the database.
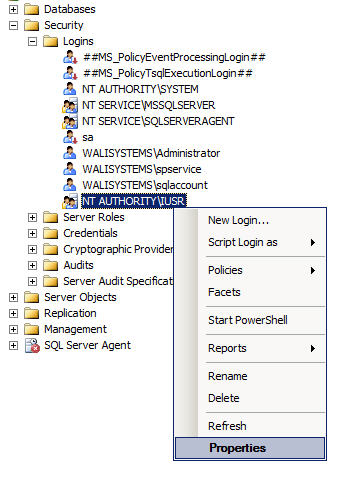
6. To map the user to the database, right-click "NT AUTHORITY\IUSR" in Logins and select "Properties"
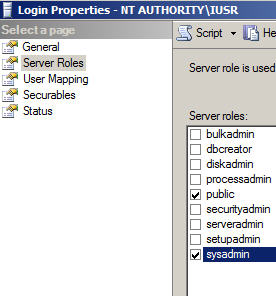
7. There are two ways to do this mapping. One way is to add the user to one of the server roles, for example, server adminorsys admin. This will provide useful rights to all databases and thus you won't have to do explicit mapping. To do this, on the properties page, click ServerRoles and check sysadmin. Click "OK". Obviously you would not want to do this in a real environment. So the other option is to map the user directly to the database that has been used in the external content type.
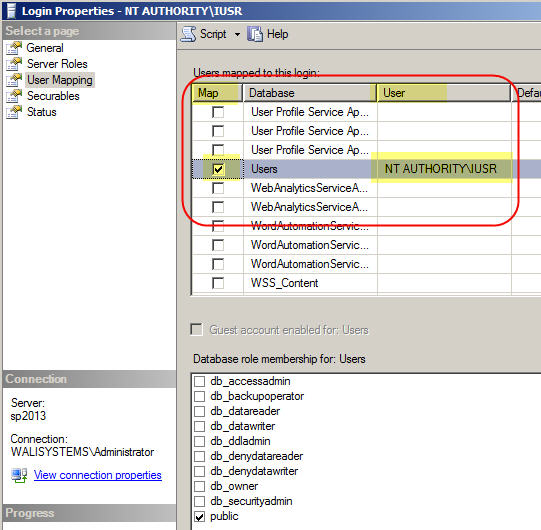
To
add a user mapping, in "LoginProperties", click "User Mapping". Locate
the database in the list and then check the box in the Map column. As
soon as you check the box, "NT AUTHORITY\IUSER" appears in the User
column. That's it. Click OK to save the setting. By the way, on the same
properties page, you can also assign database role membership to the
user for the database but that is not required.
Now, go back to the list page and reload it. You will see results from the external data source. Hope you enjoy this tutorial.
